
If you haven’t already, please see DIY Trading Cards, Part 1
Obviously, you could use any of the online card-making services. That is if you want to spend $3 on a single card or have a reason for 50+ of each design. I, however, don’t need that, so here is how I do it.
Take the PNG file (or JPG, however you saved it) and place as many copies on the layout sheet as you want to make. I have included the native GIMP file and also saved to Photoshop.
Layout Sheet_9 cards_crop.xcf (130 KB)
Layout Sheet_9 cards_crop.psd (1.63 MB)
You are going to print out one sheet each for the front of the card and one sheet for the back.
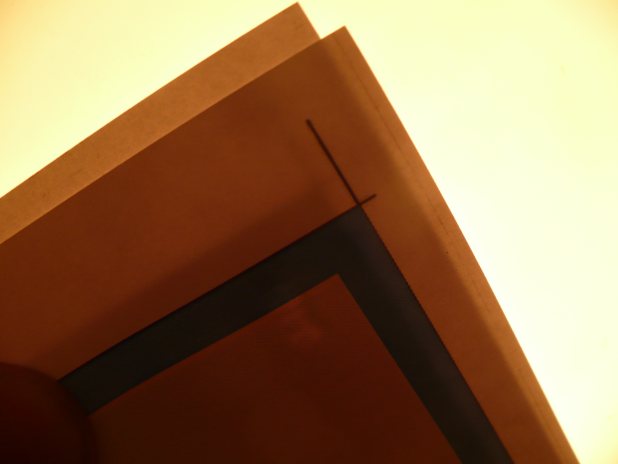
Each image should overlap the black line one pixel all the way around. If the borders don’t match up from left to right, it will probably show up when you cut. This is your chance to fix it.
Remember, when making the reverse sheet, if you are doing different kinds of cards, the two sheets will be back to back. So, a front of a card on the top left will match up to the top right of the back card. Make sure the correct ones will match up. Save these again as PNG.
To print these out, you want some sturdy high gloss paper. Something in the range of 150-200 g/m2 will do.
If you have access to a color laser printer, this Laser Glossy Brochure Paper will do nicely. If you’re using an inkjet, I expect this will do fine Brochure & Flyer Paper
. If you don’t have a printer to use, any print shop (Kinkos, Office Max, Office Depot, etc) should have this type of paper available to you at reasonable prices.
Print this centered, and at 600 DPI. Check through your color and quality settings. You probably can increase these to make nicer looking cards if you want to.
After they are printed, place the two pages back to back and check one last time that they all match up. Now hold the pages up to a bright light and use the black lines along the edges to line them up. Once you’ve got it, hold them tightly so you don’t lose the lineup and staple along one edge in two places.
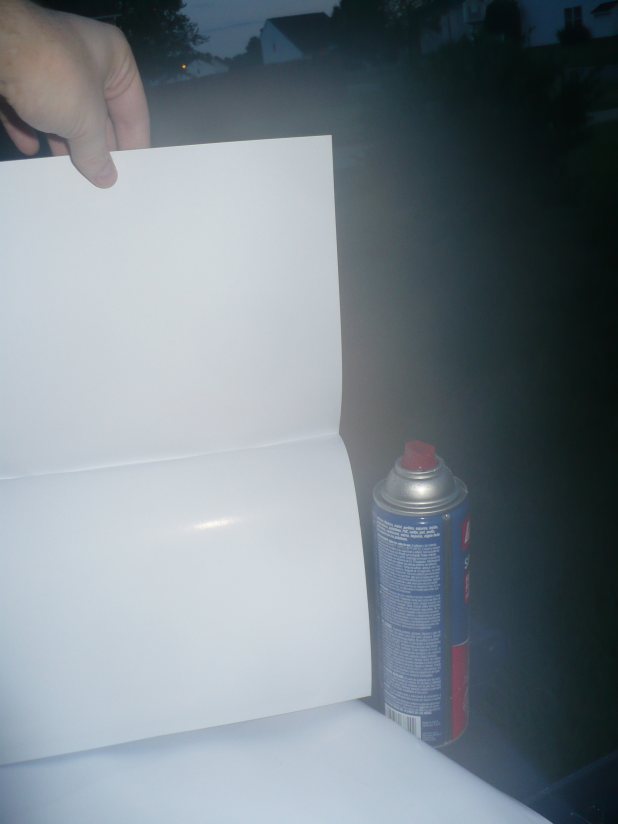
Now outside, away from anything you don’t want glue on, use some General Purpose Spray Adhesive. Apply a light, even coat across the inside of the paper and smooth together. Leave this to set per instructions, preferably under a stack of books to get nice and flat.
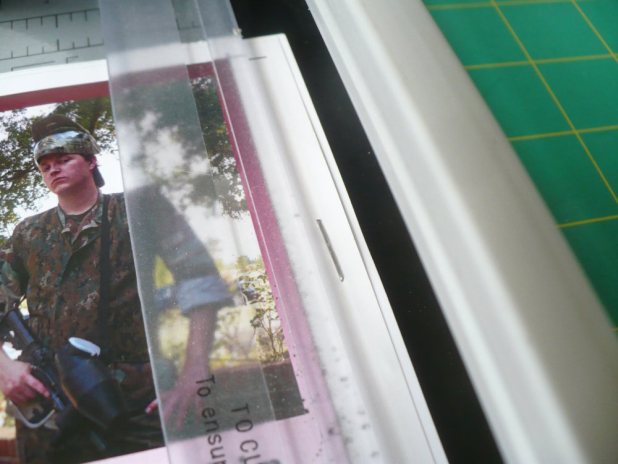
After they have set, you are ready to cut them out. I use this Paper Trimmer. I like it because the ruler is magnetic and it helps hold down the paper while you are cutting. I also use the inch marks to get precise cards. A good straight edge and a rotary blade work fine too.
First thing I do is a rough cut on each side so that the black lines are all the way to the edge. This helps me get exact measurements.
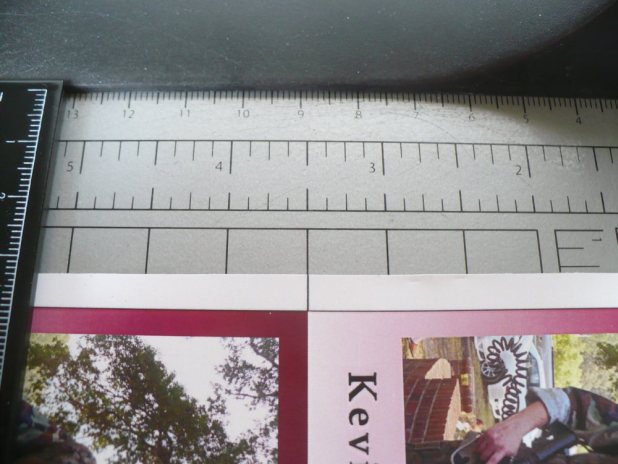
Next, line up the lines on the correct inch mark and slice away. Remember, the cards are 2.5 in X 3.5 in. Whenever possible, measure your cuts from the line, not from another cut.
Next Up: Specialty Cards