Tag Archives: X-Men

Arcade – Monitor Replacement

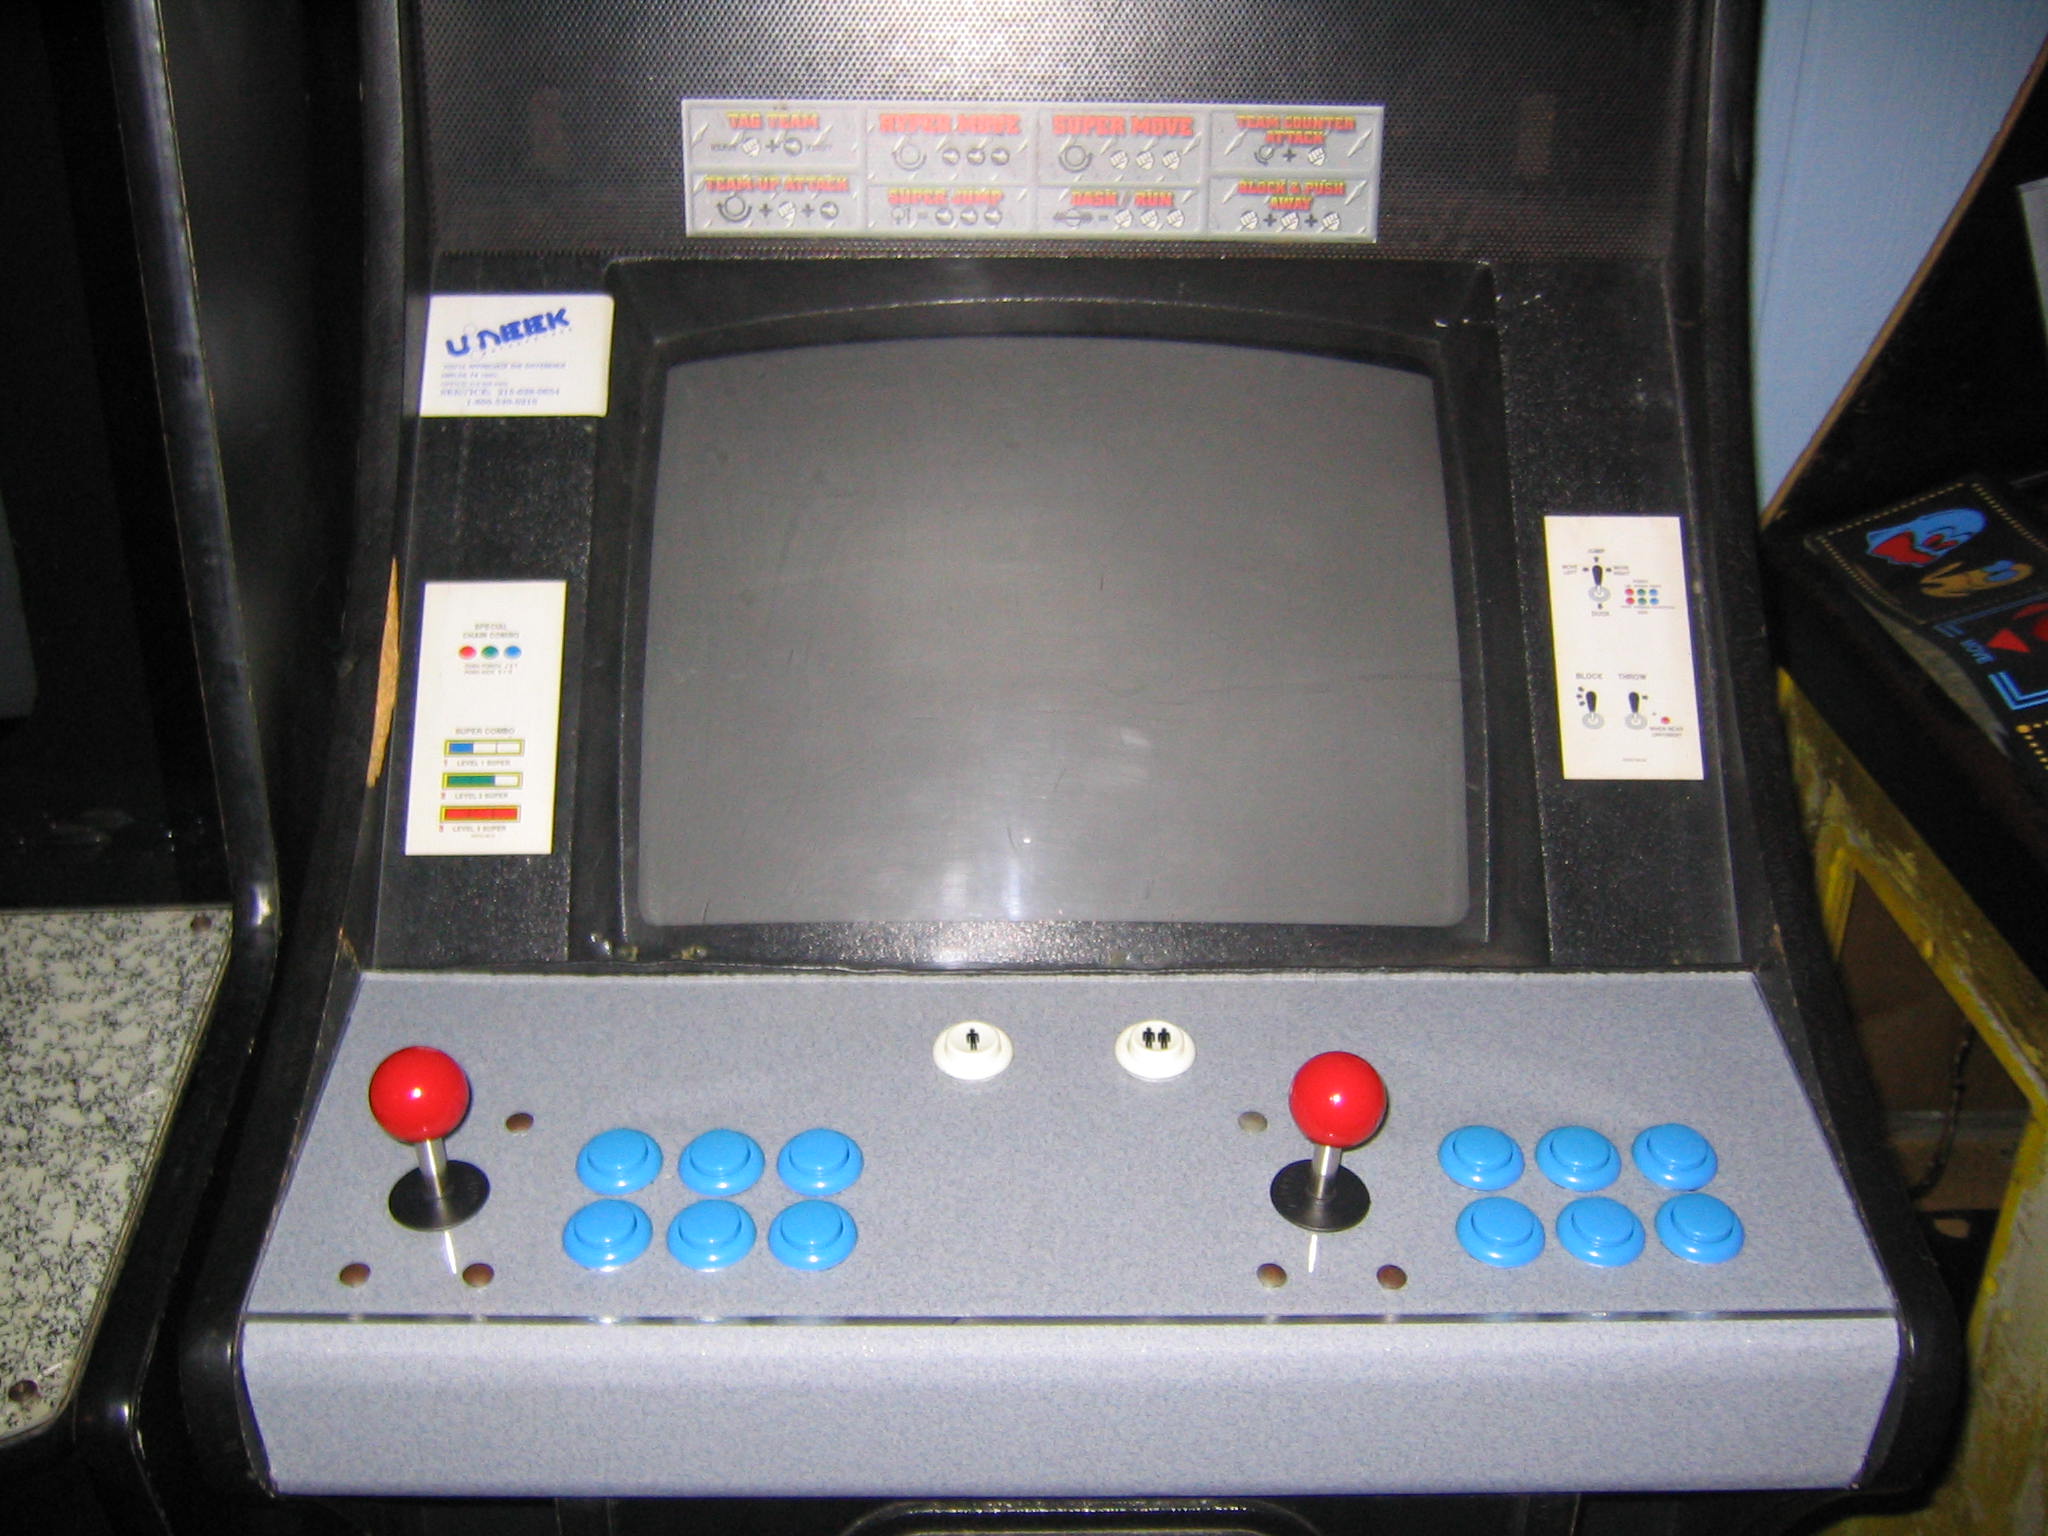
My arcade cabinet has been ready for an upgrade for some time. You can see some of the work I did in the early on in this post and this post. It doesn't get a lot of use but it's good entertainment at any party.

First let me say, this isn't a how to. I only partially planned this out before I started. I knew I'd have to see the inside in order to figure out how to finish up. I'm going to use stuff I have lying around and I wouldn't expect anyone to try and follow my directions. Probably couldn't if you wanted to. Hopefully you will see what I've done and get an idea for your own project. Let me know! maybe you can teach me something new too.

I've had an extra LCD screen (ACER AL1917A) for a little while and I never found a good use for it. I decided to replace the CRT I installed at the beginning of the project. It wasn't a very good fit to begin with but it served me well. The LCD is a higher resolution (1280 x 1024), much lighter, and just plain looks prettier. I'm going to install it regular width way but I'm going to think about installing it on it's side.
IMG_6334

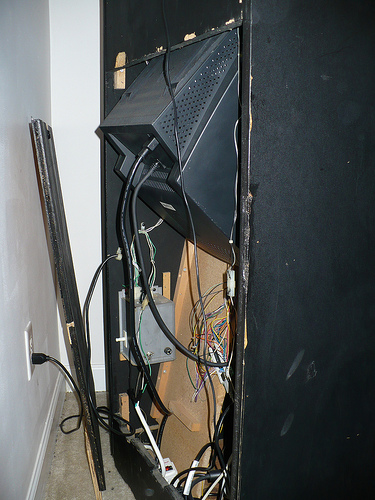
The first thing I had to do was remove the entire front of the cabinet to get to the screen. Yes, had to.
IMG_6342

To get the monitor to stay in I used screws, blocks and Gorilla Glue
IMG_6336

This was a terrible solution, but it worked.
IMG_6346

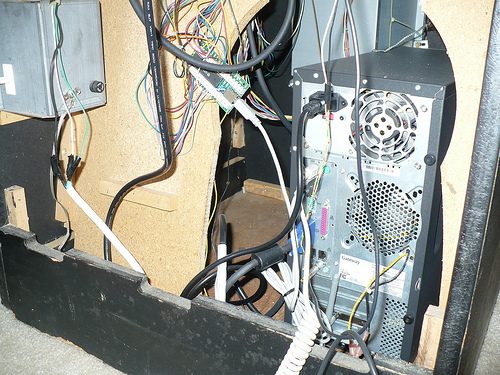
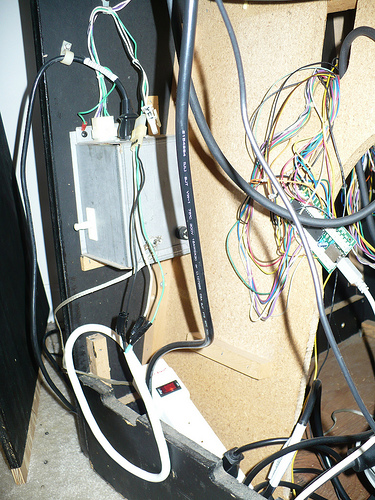
I really had to butcher the case in order to get it to fit. Apparently I didn't attach the CRT back to the case when I installed it. Whoops.
IMG_6348

To get the LCD to stay I found some metal braces lying against the wall. I don't remember where they came from but I'm glad I still have them. They are perfect. No wait, I do remember. Maybe I shouldn't have cut it up… Nah, I'm sure it'll be fine.
IMG_6351

I measured the width of the cabinet and cut the brace to size. Which happens to be 23.5 inches, if I ever need it again.
IMG_6349

These blocks were already installed, possibly to help hold the original CRT.
IMG_6353

Here is the LCD mocked up to see how it would sit. More or less perfect.
IMG_6356

Now, the right way, probably, to hold the LCD up top would be to install another brace the width of the cabinet. Unfortunately there wasn't anything already in place for me to mount a brace to and it's sleeting here so I'm not running out to Lowe's to get what I need. I was about to give up and leave this mess all over the room but I decided to go poke around in the garage for a while. I found a used bicycle inner tube and a solution was formed. I cut it 5 inches longer than the width of the cabinet and screwed it down using the existing holes. I was prepared to trim it if I needed to but this seems perfect.
IMG_6357
IMG_6358

The bezel covers up to inner tube and you can't even tell. I didn't do anything specific to keep the LCD from sliding around. The rubber should keep it in place for anything up to an earthquake. When putting it back together I almost ended up with an extra screw. but then I remembered that there were extras from taking out the CRT monitor. Now all that's left is to play some Galaga.
IMG_6362

Arcade – Step 2

I determined that I would use a computer with an I-PAC. I purchased a video card for the computer that would allow me to use the monitor that came with the cabinet, however I was not able to get them working together. I ended up using a slightly larger computer monitor as the display and the original video card.

After removing the original game board and power supply a few modifications were required. First the board in the back of the cabinet had to be cut to allow the computer to be placed inside.
P1060478

With a ton of help from Matt all of the original buttons were mapped to the I-PAC.

As I said, I had to replace the original display with a computer monitor. The monitor on hand was too big for the cabinet and some changes were made. First it had to be placed in upside down, in addition sime of the plastic of the monitor had to be removed. Also, the plastic matte around the display had to be trimmed to display the entire screen. The monitor also extends past the rear of the cabinet so a notch will need to be cut from the access board to allow it to close.
Monitor extends past back of cabinet

A power strip was added to the cabinet and plugged into the original power block so that the existing power switch could be used to turn the cabinet on and off.
Wired a power strip into the original power supply

Arcade – Step 1

I have always loved video games. They have been my spare times passion for over 15 years. Most of my experience has been with console games, and that is great. However, some of my favorite memories are of playing Galaga. There isn't a stand up Galaga cabinet near by so I could only get my Galaga fix with an emulator. As fun as that is, a keyboard just doesn't cut it.

The dream of owning a Galaga cabinet would fill my mind any time I played the game. Finding one has been a little difficult, and when I do they are too expensive.

Recently I went to an Arcade Machine Auction in Winston Salem with a friend of mine. There were several Galaga cabinets available but they sold for way too much. So I began to toss around the idea of building a MAME cabinet. I would need an inexpensive box to put it in so, I kept my eye out for one.

Towards the end of the day an X-Men vs. Street Fighter was auctioned. for the auction the cabinet was plugged in but it didn't turn on. this was okay with me because I didn't need it to work. Nobody bid on it an I was able to get it for $20. Which is good even for an empty cabinet.

It turns out the cabinet was in perfect working order, nobody thought to flip the switch on. The monitor didn't have any burn-in whatsoever. All the controls worked and the sound quality was awesome. There are a few cosmetic problems, most notably a large chunk of wood missing from the left side. This was easily fixed by some wood filler.

I now had a dilemma. Should I keep my new found deal as an X-Men vs. Street Fighter cabinet or replace it with MAME. I do really like XMvsSF but, I wanted to play Galaga. I decided that I would do both.

Step 2