
If you haven’t already, please see the preceding articles:
DIY Trading Cards, Part 1
DIY Trading Cards, Part 2: Making it Physical
DIY Trading Cards, Part 3: Specialty Cards
Now that you have mastered the art of making a standard card, you are ready to add some flair. One of my favorite parts of opening a pack of cards is finding a neat chase card like a hologram.
A hologram card is a total of four layers: front, back, hologram and paint.
You might have never thought about this, but your printer doesn’t print white. It uses the white of the paper to make any shade that needs it. To make the hologram cards, we are going to use transparency paper, pretty much any kind that works with your printer will do. I used this Laser Transparency Film.
There are lots of choices for hologram. Hobby Lobby seems to have the best (only?) selection of 12 in X 12 in hologram sheets. If you check often they go on sale for 50% off. At $0.99 a page, that is one of the best prices I’ve found. Also check out Dollar Tree; the one near me has hologram gift bags which are good for two sheets each. This is what I am using in the example. I also purchased a roll of gold wrapping paper that works well.
In order to get the proper colors and to keep the hologram from showing through your image, you will want to paint the back of your image. I use a combination of Acrylic Paint
and a White Marker.
Remember, you want to paint on the back so that it reads correctly when you’re done.
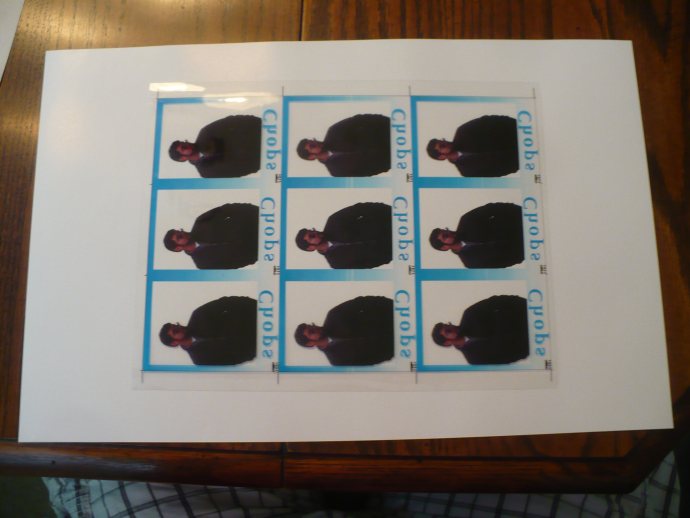
I start by taping off along the edges so I can get a crisp line.
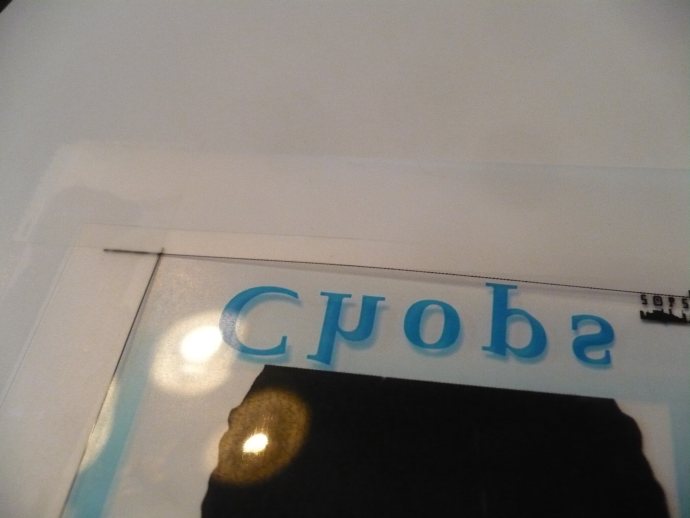
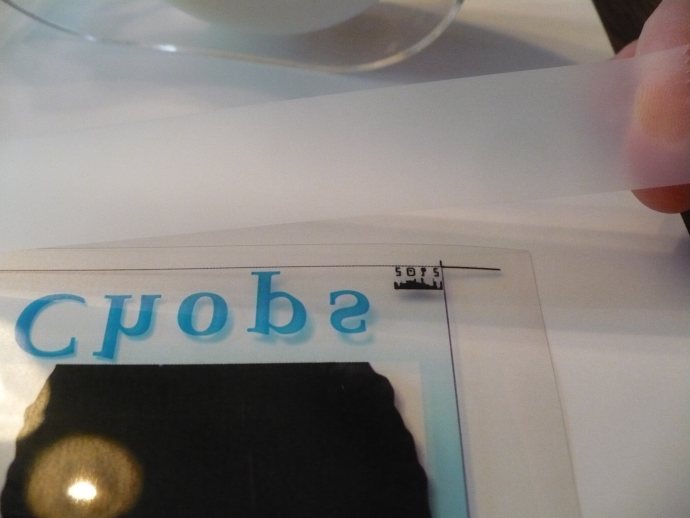
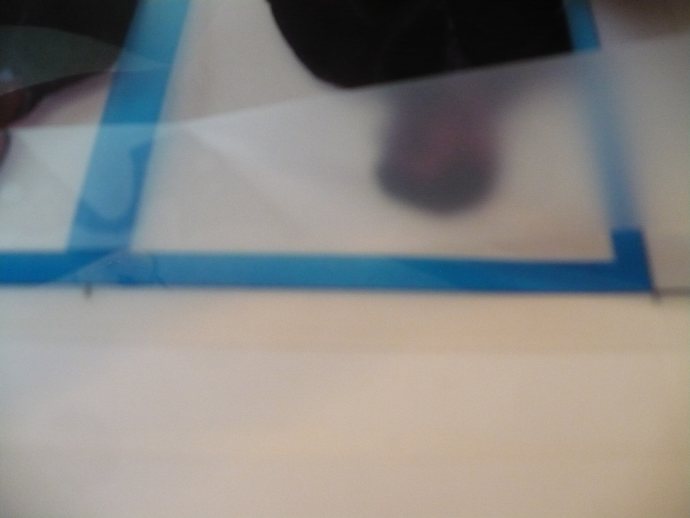
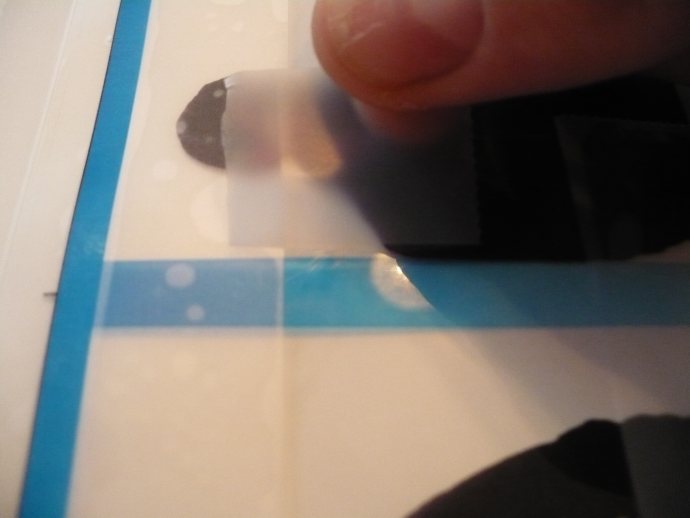
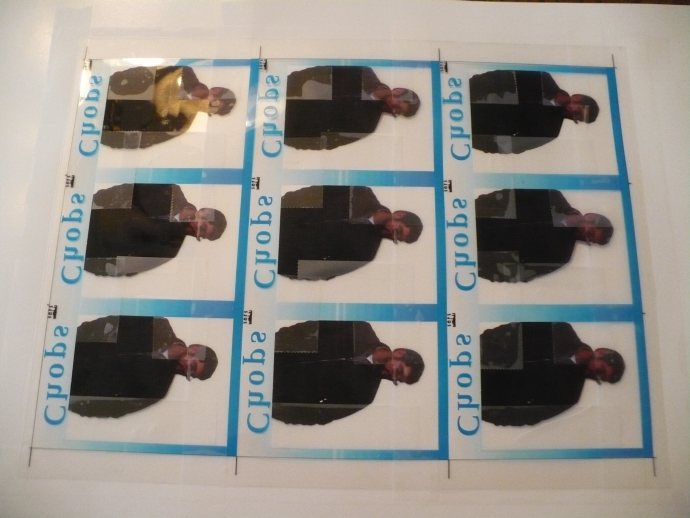
It is at this point that I take out my paint and go to town. Two coats here is not a bad idea. The darker your colors, the less you really need to apply the paint. Conversely, the lighter it is, the better job you should do.
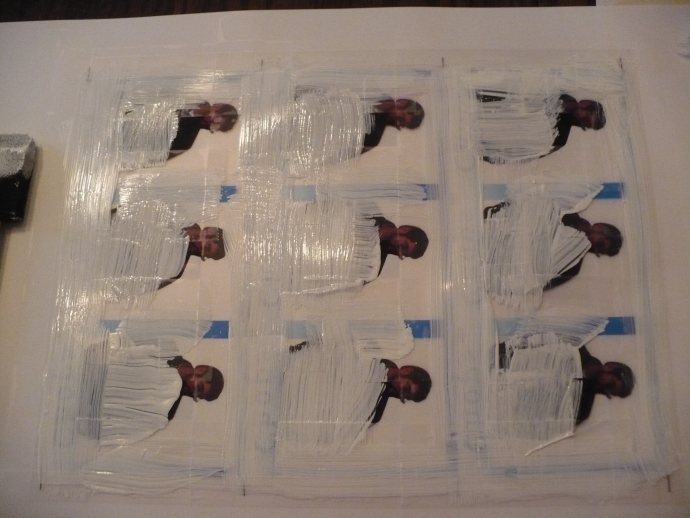
After you peel all the tape off, you can fill in with your paint pen.
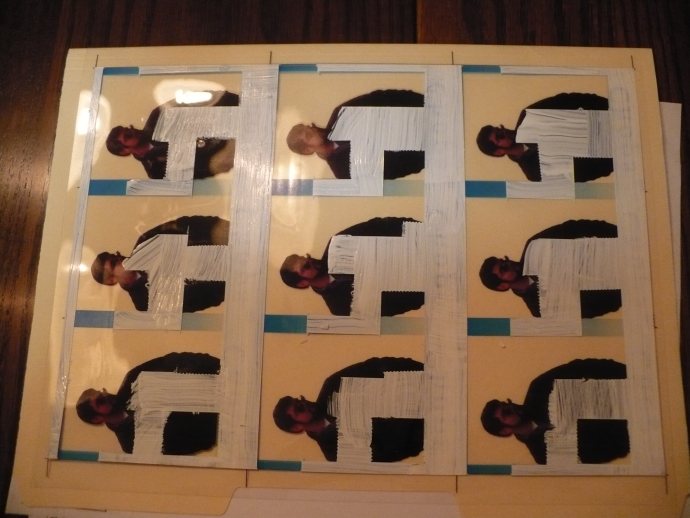
A couple coats here is good too. You want to make sure that you have enough.
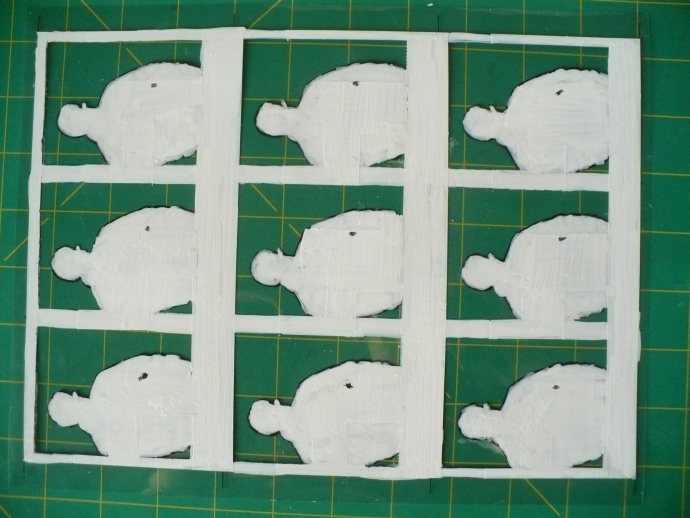
Once you are done, turn it over on any non-white surface. You want to see where you painted outside the lines. You can use an exacto knife or similar to scratch off unwanted paint. Once you are done, line up the front and back sheets as before and staple.
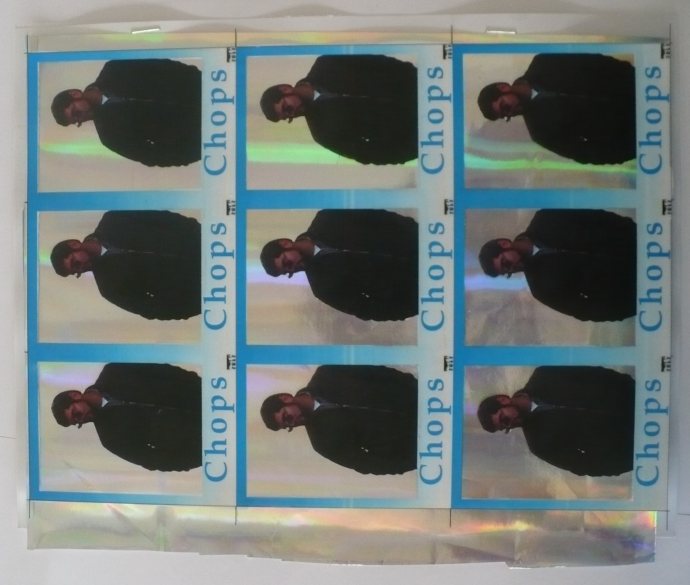
Place your hologram sheet in between and glue it all together. Make sure to press down where it’s still transparent. The paint is going to keep the transparency just a little bit away from the hologram paper, and you want the glue to make a good hold. After the glue has set, cut as before. Since this is a little thicker, apply extra pressure to the sheets to keep them from slipping while running the blade.