If you haven’t already, please see the preceding articles:
DIY Trading Cards, Part 1
DIY Trading Cards, Part 2: Making it Physical
DIY Trading Cards, Part 3: Specialty Cards
If you haven’t collected cards in the past 20 or so years you wouldn’t know about this new trend of Memorabilia cards. Typically the idea is to include a piece of jersey into the confines of a 2.5″ x 3.5″ card. With a couple extra steps it’s possible to make your very own memorabilia card.
There are three layers to the card, four if you want to use a thicker material. The outer two layers are the same as always, a front and back of the card. In addition, since you’ll be cutting a hole in the top sheet, I use magazine backerboards for stability. If it’s going to be a thicker material also use something like Canson Art Board, 180 gsm depending on how thick you need to go.
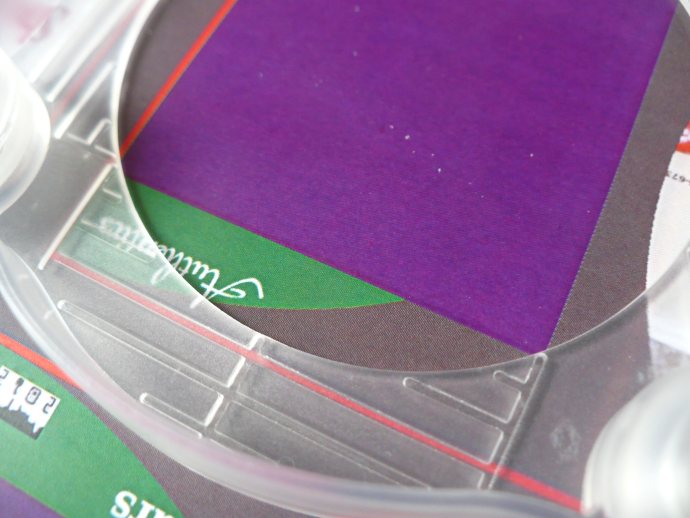
Design your card the same as normal. On the front design I draw a box the size and shape that I want the window to be. An inch and a half seems like a pretty good size to use so I design in that. I bought a Fiskars 1.5″ Punch to make consistent windows.
Cut the window in the front sheet.

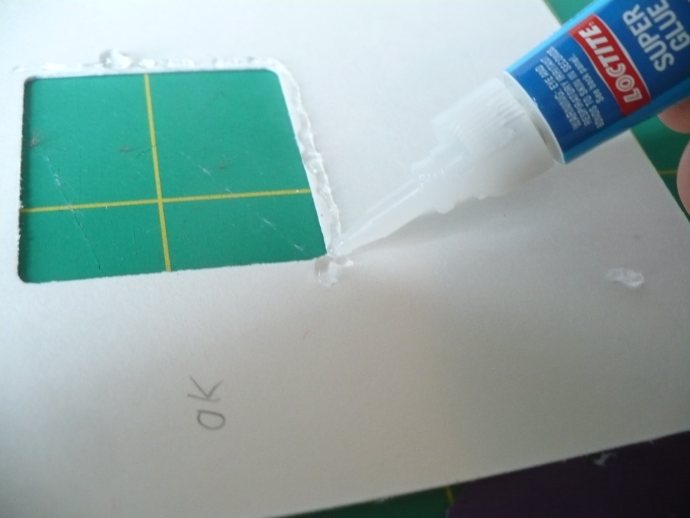
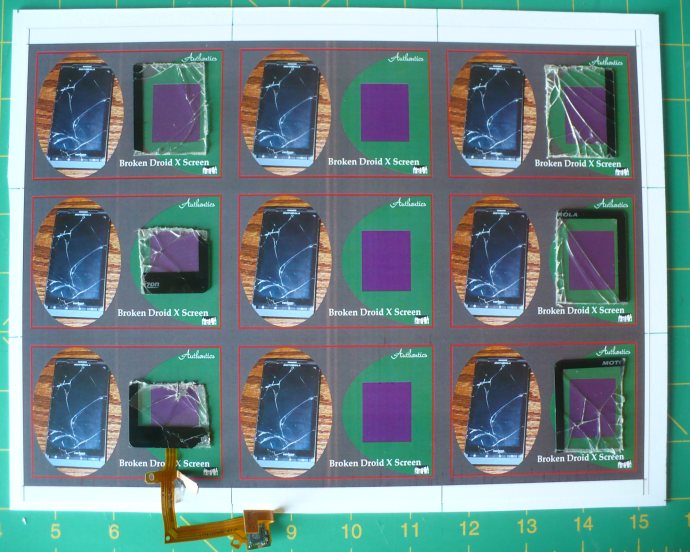
For this set I cut my fabric/paper to 1.75″ x 1.75″ to have a little overlap on the window. This allowed me to glue them all down with some Super Glue Gel. Definitely use Gel, you really don’t want it to run and end up gluing the sheet down to your table. This leaves you with a slightly wedged card, really only noticeable when you stack a few together.

Be careful when you place the fabric/paper and/or window that you are not too close to the edge you will be cutting later. I’ve made that mistake and ruined a few cards. They won’t stay together well if it’s exposed. Because of this you might be better off cutting the fabric/paper small enough to fit in the window you created.
If you’re going to use something thicker, first glue the front sheet to the art board.

Use a sharp knife to cut out the shape, after tracing if necessary.

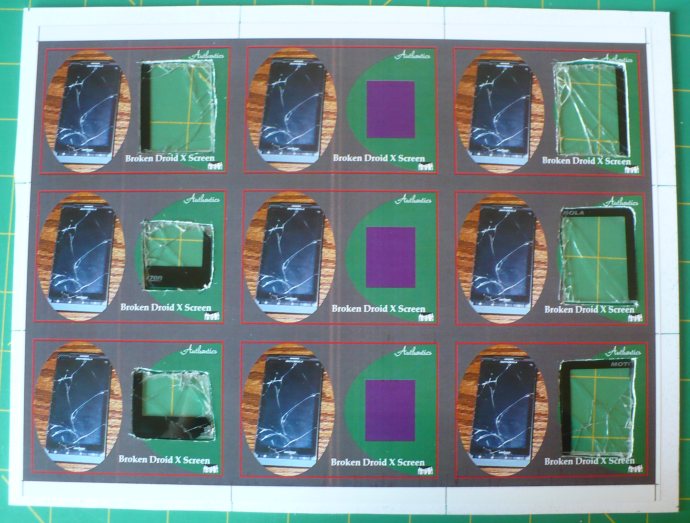
Again, attach the backer board to the back sheet and combine with the front sheet. Then, glue liberally with either the gel super glue or 3M Maximum Strength Adhesive depending on your needs, place the memorabilia into the window and hold firmly for a good set. Apply the backer board to the back sheet and glue the two sides together. After the glue is dry, cut and you’ve made your very own memorabilia card! You can individually number them for a little extra pizzazz.