I made a video demonstrating the process I use to make some special trading cards. Here is my written description for Highlight Cards. These are just cool enough to make the extra effort worth it.
DIY Highlight Trading Cards
Leave a reply
I made a video demonstrating the process I use to make some special trading cards. Here is my written description for Highlight Cards. These are just cool enough to make the extra effort worth it.

When I started writing articles about Do-It-Yourself Trading Cards I intended for people to do just that. However, instead I have heard from many people on how cool they think it is, but would still rather I did it for them. So I created an Order Form to expedite the process.
I designed a handful of new styles to use.
There isn’t a save function so you’ll need to plan it out ahead of time.
If you’re going to do all the designing skip the form al together and just send me an email at TradingCard@harbn.com. We’ll work out the cost from there.
If I’m going to design the cards the price structure is a $0.54 fee for each designed card. Normal and Landscape are $0.50 per printed card, Hologram and Memorabilia cards are $1.34 and $2.20 respectively. This is only because of the additional materials and labor required to make them.
I’m sure I haven’t answered all your questions here so feel free to ask them here.

If you haven’t already, please see the preceding articles on making trading cards at home:
DIY Trading Cards, Part 1
DIY Trading Cards, Part 2: Making it Physical
DIY Trading Cards, Part 3: Specialty Cards
DIY Trading Cards, Part 4: Packs
DIY Trading Cards, Part 5: Card Box
DIY Trading Cards, Part 6: Binder
After I finished my first run of trading cards I decided to try another method. Instead of printing on a laser printer I printed 4×6 photo prints. I layout two cards to a page. The front and back layout pages match up pretty well when printed. You’ll still need to do some lining up before you print, but no more staring at a light bulb.
Here are the layout files.
cards4X6_f.png (11.0 kb)
cards4X6_b.png (11.0 kb)
You could use those files however, I created a new tool to help layout the pictures for printing. You can find it here. You can still make a 9 card layout if you wish. Just select the type of layout you want to make and drag your 750×1050 image into the window. You can also use a 1050×750 image, it will auto rotate.
For some reason this tool works best for me in Firefox.
This summer Walmart had 4×6 Prints for $0.09 and free shipping. I print matte, but glossy might be your thing. The image quality is much higher, and the photo paper is plenty thick to give you a solid card.
I suggest doing a couple test prints before trying your whole run. With Walmart the images are scaled up a small amount. The difference was more than enough to be worth correcting. I had to add a border of 12 pixels so that the cards would be the right size. If you use another provider try one or two and measure the results.
When you put the front and back prints together you can use the layout lines to line them up, then staple together. Remember to use photo safe Spray Adhesive. As usual, I would trim the side with the staples off first.
I use a Rotary Cutter with a straight edge now. I feel like I get more control that way.
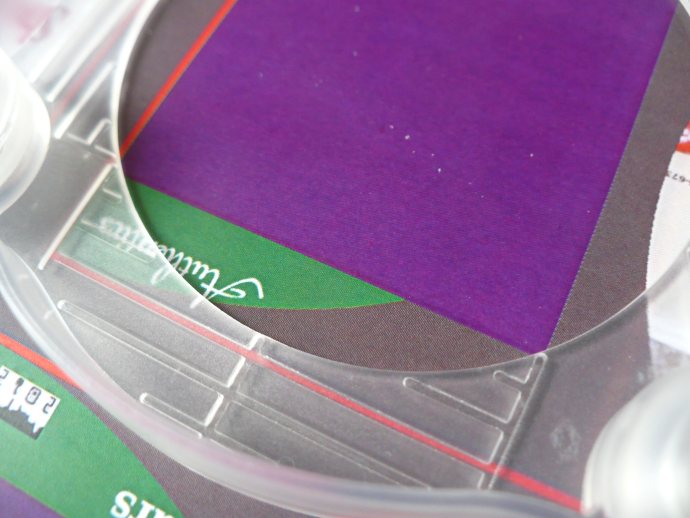
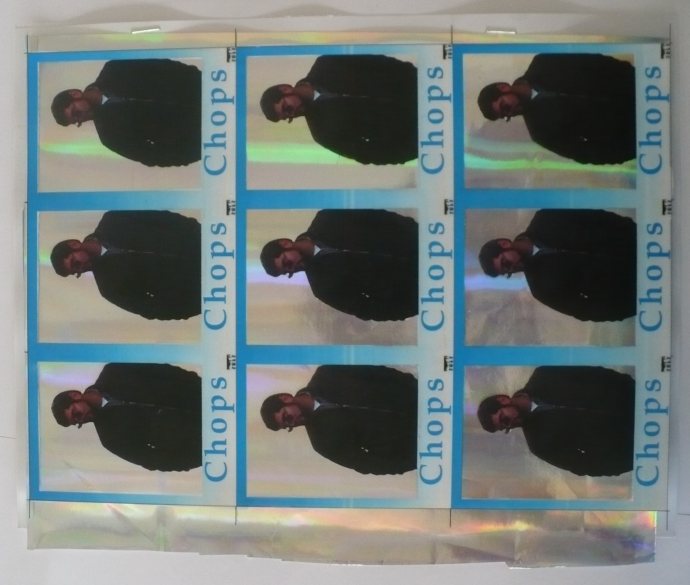
For some fun you can try some Metallic Prints.
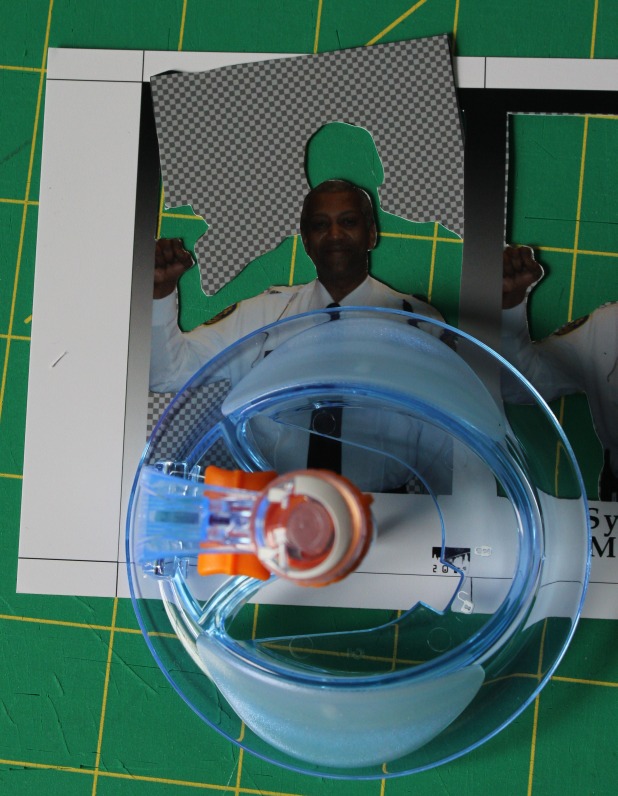
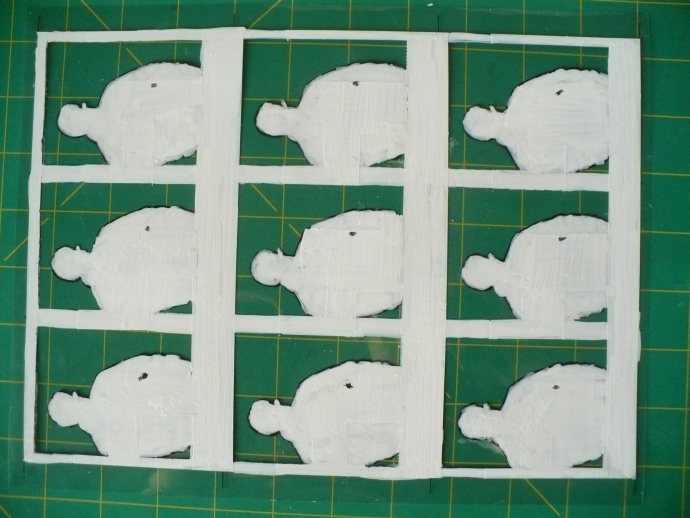
Hologram cards work well with this method too. All you have to do is cut out the background from the front picture before gluing all the layers together. I use a shape cutter like the Fiskars Ultra ShapeXpress but you could use an x-acto knife. This is much, much easier than painting.
If you haven’t already, please see the preceding articles:
DIY Trading Cards, Part 1
DIY Trading Cards, Part 2: Making it Physical
DIY Trading Cards, Part 3: Specialty Cards
DIY Trading Cards, Part 3a: Hologram Cards
A modification to the Hologram Card idea is to use glow in the dark paint to accent certain areas.
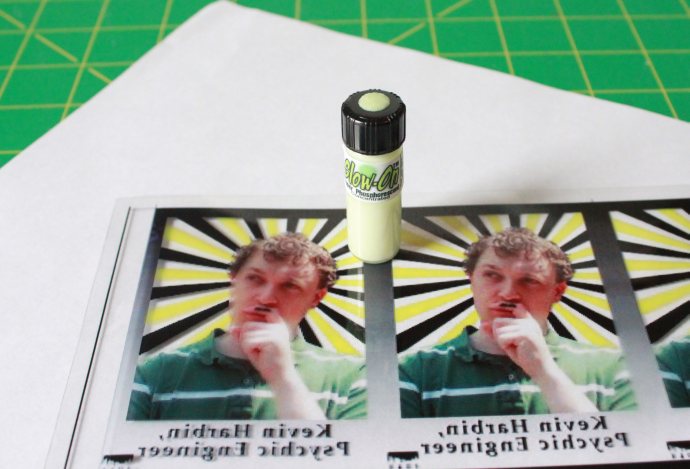
Paint where you want to glow, even over some of the ink.

Finish up with white everywhere you don’t want a hologram to show through, same as you do for hologram cards.
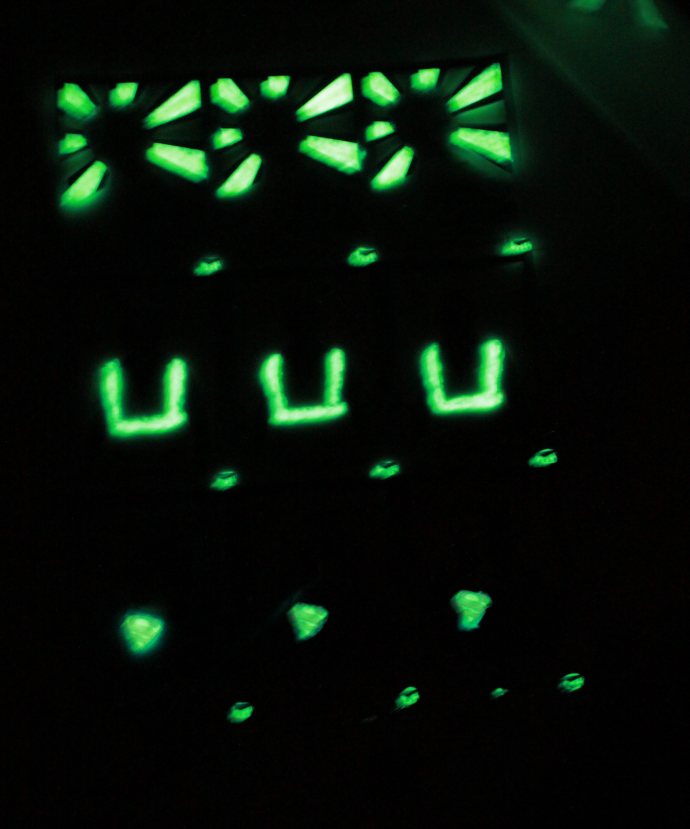
Trim as always and you’re done.

If you haven't already, please see the preceding articles on making trading cards at home:
DIY Trading Cards, Part 1
DIY Trading Cards, Part 2: Making it Physical
DIY Trading Cards, Part 3: Specialty Cards
DIY Trading Cards, Part 4: Packs
DIY Trading Cards, Part 5: Card Box
This one's pretty simple. To make a sweet binder to keep and display my cards, I used Zazzle. You can download a design guide for whichever size binder you want.
I made the 1″ binder. Now that I've filled it out with my first year of cards I wish I had gone for something a little larger. The upside is that I'll get to design another before too long.

If you haven’t already, please see the preceding articles on making trading cards at home:
DIY Trading Cards, Part 1
DIY Trading Cards, Part 2: Making it Physical
DIY Trading Cards, Part 3: Specialty Cards
DIY Trading Cards, Part 4: Packs
Now that you have your packs made, you’ll want to keep them somewhere until they get opened. Sure, a plastic bag or shoebox will do, but it’s boring. A box is very simple to make (compared to some of the other parts) and adds some zing.
This box is sized for two stacks of packs with inner dimensions of 4″ x 5.5″. It is made from magazine backerboards available online or at your local comic book store.
If these dimensions suit your needs you, can use my template.
I have included the native GIMP file and also saved to Photoshop.
Box_square.xcf (33.4 KB)
Box_square.psd (142 MB)
After you have have something you’re happy with, print it out. Cut along the edge.
If you’ve designed in a pop up cover, now is the time. You can trace it with a craft knife or follow the instruction from this guy to make perforations. Leave a few places still attached so that the lid holds together until you’re ready to have it open for good. Make sure you cut down to the halfway point (and only that far!) on the sides so that the lid will fit into the back.
Make a crisp fold for the corners. I used a straight edge and a wide putty knife for each fold.
Glue the corners together. Hold until dry.
Next Up: Binder

If you haven’t already, please see the preceding articles on making trading cards at home:
DIY Trading Cards, Part 1
DIY Trading Cards, Part 2: Making it Physical
DIY Trading Cards, Part 3: Specialty Cards
After you have designed and printed several varieties of cards, you may want to distribute them. A nice touch is with a custom package.
I have included the native GIMP file and also saved to Photoshop.
trading_card_pack.xcf (237 KB)
trading_card_pack.psd (634 KB)
The design can be as simple or as elaborate as you want.
Fold the short ends in first, then the two longer ones on top. Use either tape or a sticker of your choice to hold them closed.
Next Up: Card Box

If you haven’t already, please see the preceding articles:
DIY Trading Cards, Part 1
DIY Trading Cards, Part 2: Making it Physical
DIY Trading Cards, Part 3: Specialty Cards
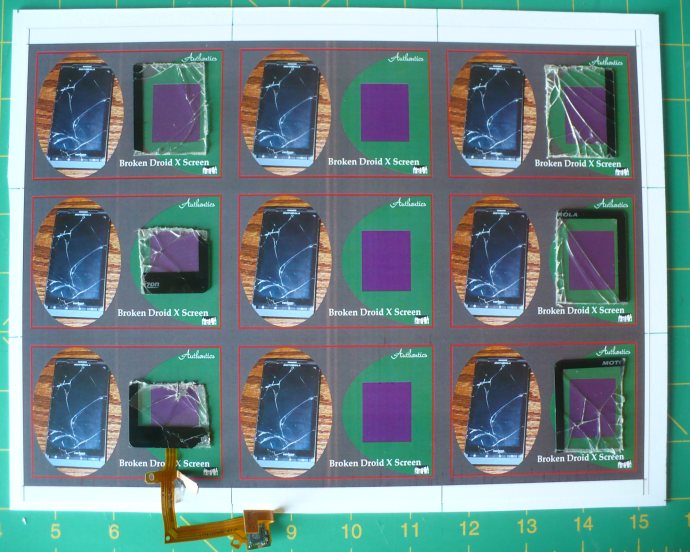
A puzzle card is a pretty simple to make. Instead of designing one card at a time, design as a set of 9.
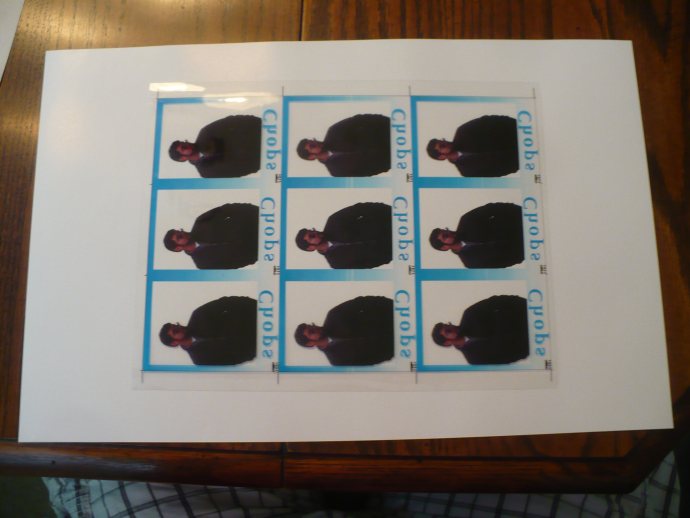
Choose a design that can be cropped/resized to 2250 x 3150. Place that picture onto the 9 card layout sheet and you’ve made the front of the card.
For the back you can either use another 2250 x 3150 picture or make them individual designs for each card. Place these in the desired order on another layout sheet. If you choose to number the cards, remember you are looking at the back, right to left, top to bottom.

If you haven’t already, please see the preceding articles:
DIY Trading Cards, Part 1
DIY Trading Cards, Part 2: Making it Physical
DIY Trading Cards, Part 3: Specialty Cards
If you haven’t collected cards in the past 20 or so years you wouldn’t know about this new trend of Memorabilia cards. Typically the idea is to include a piece of jersey into the confines of a 2.5″ x 3.5″ card. With a couple extra steps it’s possible to make your very own memorabilia card.
There are three layers to the card, four if you want to use a thicker material. The outer two layers are the same as always, a front and back of the card. In addition, since you’ll be cutting a hole in the top sheet, I use magazine backerboards for stability. If it’s going to be a thicker material also use something like Canson Art Board, 180 gsm depending on how thick you need to go.
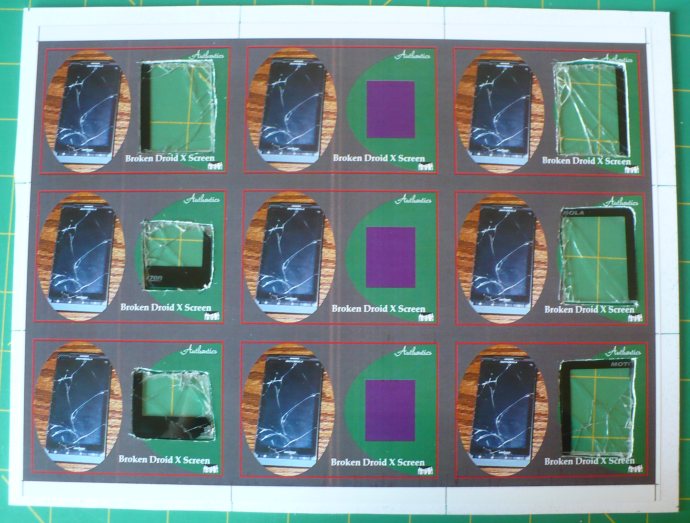
Design your card the same as normal. On the front design I draw a box the size and shape that I want the window to be. An inch and a half seems like a pretty good size to use so I design in that. I bought a Fiskars 1.5″ Punch to make consistent windows.
Cut the window in the front sheet.
For this set I cut my fabric/paper to 1.75″ x 1.75″ to have a little overlap on the window. This allowed me to glue them all down with some Super Glue Gel. Definitely use Gel, you really don’t want it to run and end up gluing the sheet down to your table. This leaves you with a slightly wedged card, really only noticeable when you stack a few together.
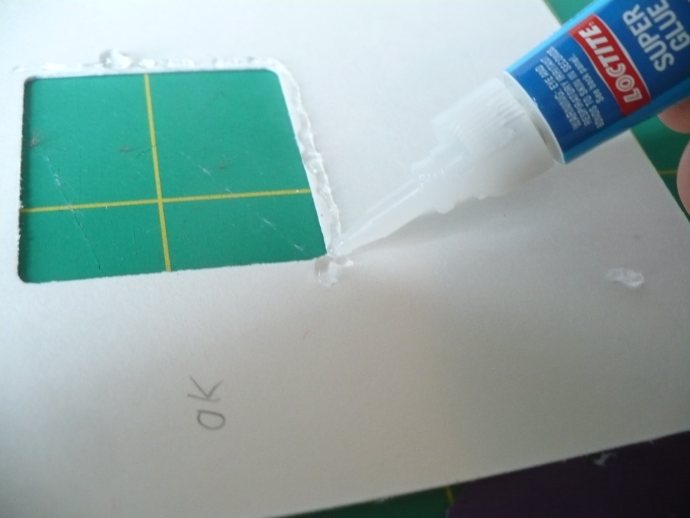
Be careful when you place the fabric/paper and/or window that you are not too close to the edge you will be cutting later. I’ve made that mistake and ruined a few cards. They won’t stay together well if it’s exposed. Because of this you might be better off cutting the fabric/paper small enough to fit in the window you created.
If you’re going to use something thicker, first glue the front sheet to the art board.
Use a sharp knife to cut out the shape, after tracing if necessary.
Again, attach the backer board to the back sheet and combine with the front sheet. Then, glue liberally with either the gel super glue or 3M Maximum Strength Adhesive depending on your needs, place the memorabilia into the window and hold firmly for a good set. Apply the backer board to the back sheet and glue the two sides together. After the glue is dry, cut and you’ve made your very own memorabilia card! You can individually number them for a little extra pizzazz.

If you haven’t already, please see the preceding articles:
DIY Trading Cards, Part 1
DIY Trading Cards, Part 2: Making it Physical
DIY Trading Cards, Part 3: Specialty Cards
Now that you have mastered the art of making a standard card, you are ready to add some flair. One of my favorite parts of opening a pack of cards is finding a neat chase card like a hologram.
A hologram card is a total of four layers: front, back, hologram and paint.
You might have never thought about this, but your printer doesn’t print white. It uses the white of the paper to make any shade that needs it. To make the hologram cards, we are going to use transparency paper, pretty much any kind that works with your printer will do. I used this Laser Transparency Film.
There are lots of choices for hologram. Hobby Lobby seems to have the best (only?) selection of 12 in X 12 in hologram sheets. If you check often they go on sale for 50% off. At $0.99 a page, that is one of the best prices I’ve found. Also check out Dollar Tree; the one near me has hologram gift bags which are good for two sheets each. This is what I am using in the example. I also purchased a roll of gold wrapping paper that works well.
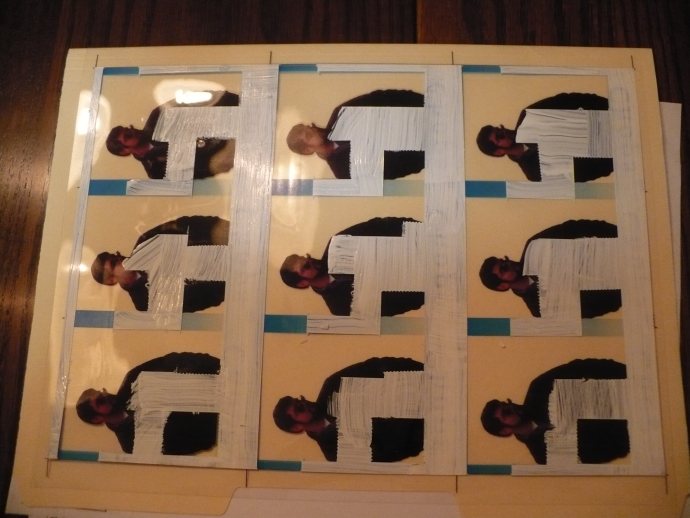
In order to get the proper colors and to keep the hologram from showing through your image, you will want to paint the back of your image. I use a combination of Acrylic Paint
and a White Marker.
Remember, you want to paint on the back so that it reads correctly when you’re done.
I start by taping off along the edges so I can get a crisp line.
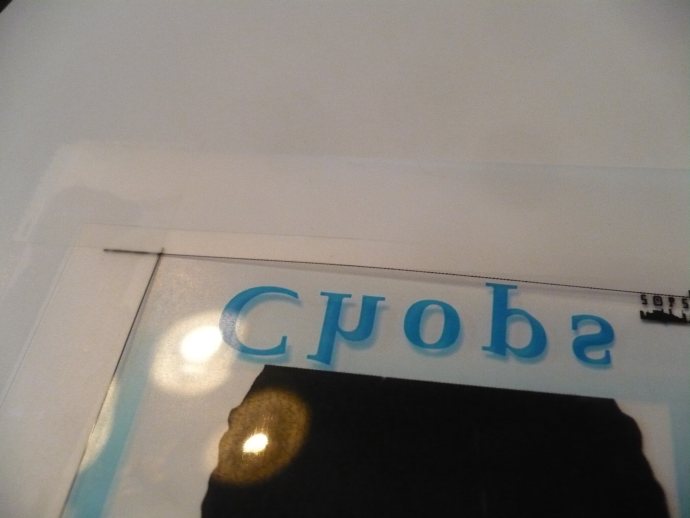
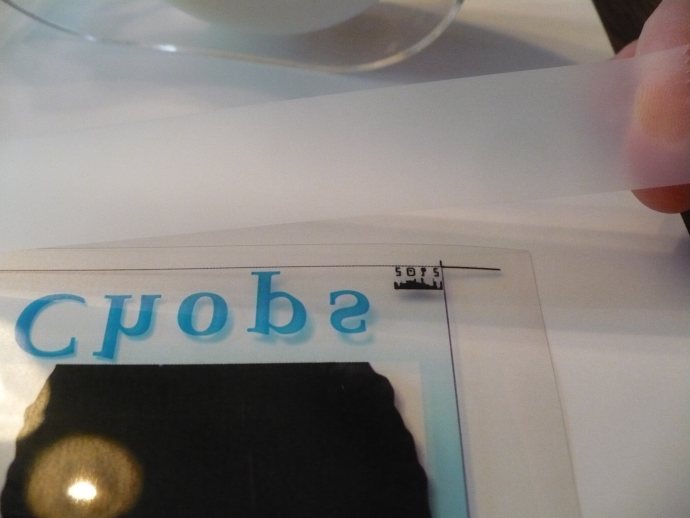
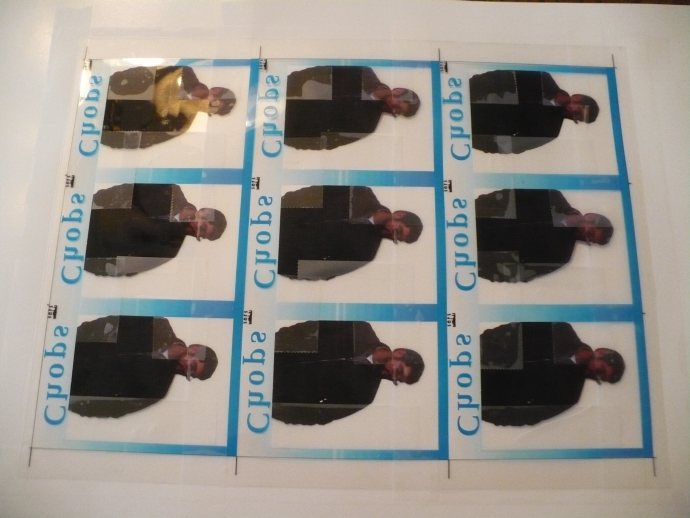
It is at this point that I take out my paint and go to town. Two coats here is not a bad idea. The darker your colors, the less you really need to apply the paint. Conversely, the lighter it is, the better job you should do.
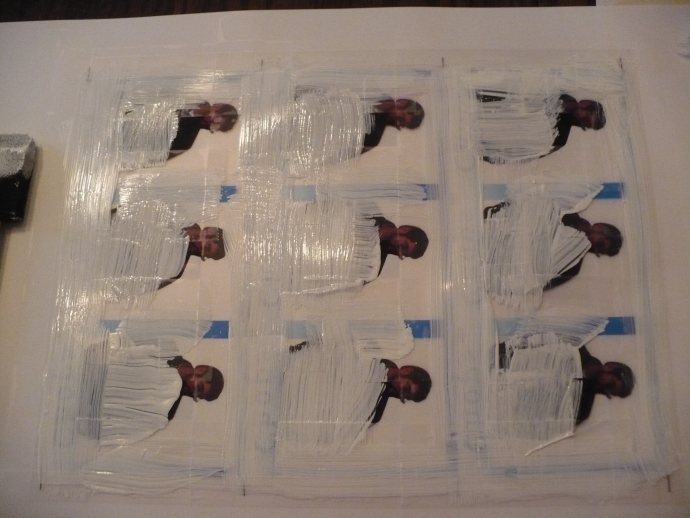
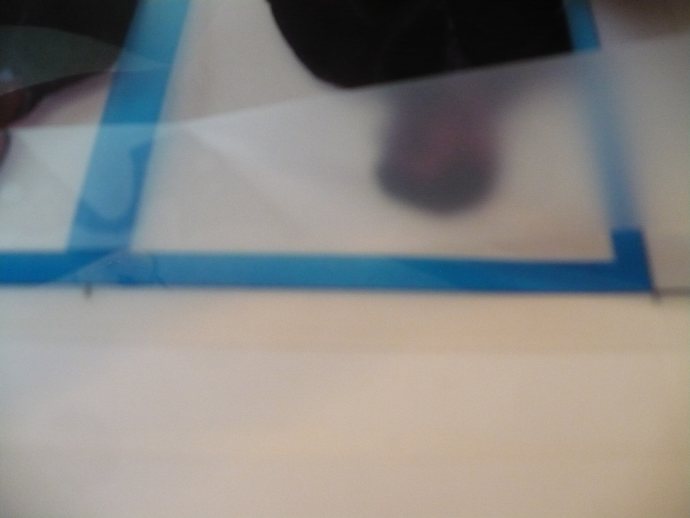
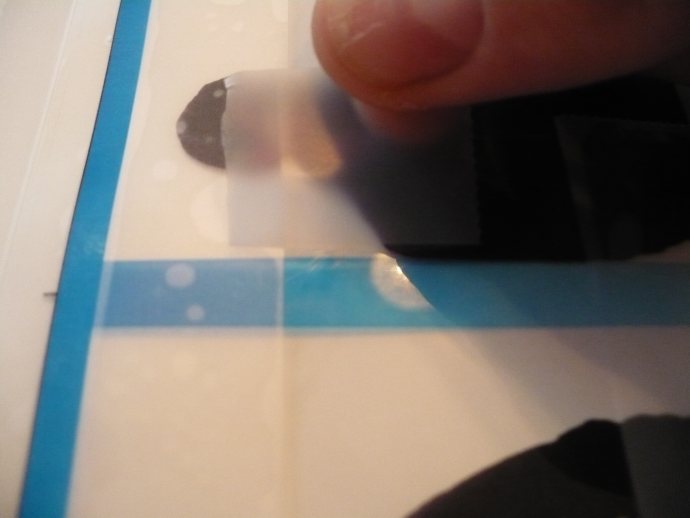
After you peel all the tape off, you can fill in with your paint pen.
A couple coats here is good too. You want to make sure that you have enough.
Once you are done, turn it over on any non-white surface. You want to see where you painted outside the lines. You can use an exacto knife or similar to scratch off unwanted paint. Once you are done, line up the front and back sheets as before and staple.
Place your hologram sheet in between and glue it all together. Make sure to press down where it’s still transparent. The paint is going to keep the transparency just a little bit away from the hologram paper, and you want the glue to make a good hold. After the glue has set, cut as before. Since this is a little thicker, apply extra pressure to the sheets to keep them from slipping while running the blade.